RV Tips · DIY upgrades · 12 door projects
RV Entry Door Makeover
Your entry door gets used more than anything else on the rig, and it shows: a latch you have to slam, a frosted window you can’t see through, a flimsy screen door and wobbly steps. These 12 projects, from a five-minute fix to a weekend paint job, make it work better and look new.
Door projects
12
Five minutes to a weekend
Cheapest fix
Under $15
Strike plate and dry lube
Keyless lock
$130–$260
No wiring needed
Paint job
1 weekend
Plus a few days to cure
Prices and specs checked November 3, 2026 · By RV-Roundup
At a glance
Six upgrades worth doing first
Short on time? Start here. Each card jumps to the full project below.
See who’s knocking
Swap the frosted window
A clear window with a built-in shade adds view and privacy.
The short answer
To give an RV entry door a makeover, fix how it works before you change how it looks. Realign the strike plate and dry-lube the latch so it closes without a slam, and replace flattened weatherstripping. Then upgrade what you touch every day: a keyless keypad lock (about $130 to $260, no wiring), a screen door cross bar and a clear window with a built-in shade. Finish with a bonding primer and two thin coats of paint on the inside, and a sturdy assist rail for the steps. Measure the handle cutout, door thickness and hinge side before you buy anything.
The full list
12 RV entry door makeover projects
Start with the fixes, because a new handle or a fresh coat of paint won’t help a door that sticks, leaks or slams. Then upgrade the hardware, change the look and make the steps safer.
Fix what bugs you first
Cheap fixes that make every trip in and out easier.
1
Stop the slam: realign the strike plate
If you have to slam the door, the latch bolt is usually hitting the strike plate on the door frame instead of sliding into it. Close the door slowly and watch where they meet, or rub pencil on the bolt to see the contact mark. Loosen the plate’s screws, nudge it about 1/16 inch at a time, retighten and test. Level the rig first: a twisted, unlevel coach can throw the door out of line.
2
Lube the latch the right way
Spray the latch bolt and lock with a dry-film silicone or dry PTFE lubricant, then work the handle a dozen times. Skip silicone grease and heavy oils, which hold grit. Many RV doors use friction hinges that hold the door at any angle; check your owner’s manual before you lube those, because it can stop them holding.
3
Replace tired weatherstripping
Factory foam seals flatten and crumble. If you see daylight around the closed door, feel a draft or find dust inside, replace them. Note whether the old seal is stick-on or press-on, match its height, measure every side of the frame, scrape off old adhesive and clean with rubbing alcohol. A seal that is too tall will make the door hard to latch again.
4
Fix the door holder
The plastic catch on the outside wall that holds the door open turns brittle in the sun and snaps. Without it, a gust can swing the door hard. Replacement T-style holders cost a few dollars; take the old one off first and match the hole spacing and length so the door still latches into it.
Upgrade the hardware
The parts you touch every day, upgraded.
5
Go keyless
A keyless handle replaces the factory latch and lock with a backlit keypad, a key fob or a phone app, and a mechanical key as backup. Most install with a screwdriver, run on AA batteries and need no wiring. Fit is everything: check the handle cutout, door thickness and hinge side, and whether your door window reaches below the handle. See how to measure.
6
Add a screen door cross bar
A bar across the screen door gives you a solid grip to pull it shut and keeps hands, paws and elbows off the screen. Camco’s adjustable bar fits screen doors 21-5/8 to 28-5/8 inches wide. Close the main door before you mark the screw holes, so the bar clears the inside handle and lock. Lighted, motion-sensing versions add a step light.
7
Swap the frosted window
Many entry doors have frosted glass you can’t see through. A Thin Shade window gives you tinted, clear glass with a pleated shade built into the frame. If your Lippert door has a “Thin Shade Ready” decal, you only need the shade; otherwise the complete kit replaces the window and frame on Lippert doors with a 15 by 24-inch cutout.
Make it look new
Paint, polish and the finishing touches.
8
Paint the inside of the door
Dark wood-grain door panels and trim brighten up with paint, as long as you prep. Clean, mask, prime with a bonding primer made for slick surfaces, then roll on two thin coats of a washable satin or semi-gloss paint. Follow the step-by-step guide.
9
Clean and polish the outside
Wash the door skin and frame, clear black streaks from the drip rail above it and polish any chalky, oxidized finish. Chips in factory paint need matching touch-up paint and careful prep; for anything bigger than a chip, an RV body shop will match it better. See our wax and oxidation picks.
10
Dress the entry
A wraparound step rug quiets metal steps, adds grip and keeps grit out, and fitted sets are made for popular steps such as Lippert’s Solid Step. Add a washable mat inside, removable adhesive hooks for keys and leashes, and a small trash bag holder on the inside of the screen door frame.
Safer in and out
Handrails and steps for steadier footing, day or night.
11
Add a longer assist rail
A fold-out rail beside the door gives you something solid to hold on the steps. Stromberg Carlson’s Lend-A-Hand Extended rail has a 37-inch drop and reaches 25.5 inches from the wall, and it bolts to the same footprint as the standard Lend-A-Hand models. Check that the rail, folded or open, never blocks the door from swinging open.
12
Replace wobbly fold-out steps
Fold-down steps such as Lippert’s Solid Step rest on the ground with adjustable legs, so they don’t bounce, and fold up into the doorway for travel. Size them by door width (26-inch models fit 25 to 28.9-inch openings, 30-inch fit 29 to 36) and by height from ground to threshold: about 22 to 28 inches for a double, 27 to 36 for a triple and 34 to 44 for a quad.
Before you buy
Measure your door first
Door hardware is not one-size-fits-all. These four checks take five minutes and save a return.
A × B: the handle cutout
Take the old handle off and measure the hole in the door. Lippert’s keyless lock fits a 2-3/4 by 3-3/4-inch cutout, the most common size on travel trailers and fifth wheels. Motorhome doors often have a bigger opening and need a model made for them.
C: door thickness
Measure the door edge. Lippert’s lock fits doors 1-3/8 to 1-1/2 inches thick; RVLock’s Compact and V4 are made for 1.5-inch doors. A lock for the wrong thickness won’t pull the latch tight.
Hinge side
Stand outside facing the door. If the hinges are on the right, buy a right-hand lock; on the left, a left-hand one. Both Lippert and RVLock sell the two versions, and they are not interchangeable.
Window and decals
If your door window reaches below the handle, RVLock says only its Compact will fit. Before you buy a window shade, look for a “Thin Shade Ready” decal on the frame and check the door tag for the maker.
Side by side
What an RV door makeover costs
Typical prices from makers and major retailers, checked November 3, 2026. Swipe sideways on a phone.
| Project | Typical cost | Time | Skill | You’ll need |
|---|---|---|---|---|
| Realign the strike plate | Free | 15 min | Easy | Screwdriver, pencil |
| Lube the latch | Under $15 | 5 min | Easy | Dry-film silicone or PTFE spray |
| New weatherstripping | $20–$90 | 1–2 hr | Easy | Matching seal, scraper, rubbing alcohol |
| New door holder | Under $15 | 10 min | Easy | Screwdriver, sealant |
| Keyless lock | $130–$260 | 30 min | Moderate | Screwdriver, tape measure, 4 AA batteries |
| Screen door cross bar | $25–$45 | 15 min | Easy | Drill, 1/8-inch bit |
| Thin Shade window | $35–$120 | 20–45 min | Moderate | Screwdriver, a helper |
| Paint the inside | $40–$80 | A weekend | Moderate | Degreaser, tape, bonding primer, paint, foam roller |
| Clean and polish the outside | $20–$50 | An afternoon | Easy | RV wash, polish, microfiber |
| Step rug, mat and hooks | $20–$65 | 10 min | Easy | None |
| Extended assist rail | $50–$80 | 30 min | Easy | Drill, screwdriver |
| Solid fold-out steps | $250–$600 | 1–2 hr | Moderate | Wrenches, a helper |
Step by step
How to paint the inside of an RV door
Seven steps over a weekend. The prep is most of the work, and it is what makes paint last on a door that gets bumped and grabbed every day.
- Plan around the weather Pick two or three dry, mild days. Paint the inside face of the door and the trim around it, and leave the latch edge, hinges and weatherstripping bare.
- Remove or mask the hardware Take off the inside handle trim, hooks and anything else that unscrews easily. Mask the lock, window frame, hinges and seals with a good painter’s tape and press the edges down.
- Degrease it Wash the door with a degreaser or TSP substitute to cut the film of cooking grease and hand oils, rinse with clean water and let it dry completely.
- Scuff the shine Lightly sand glossy laminate or vinyl with 220-grit paper so the primer has something to grip, then wipe off the dust with a damp microfiber cloth.
- Prime with a bonding primer Use a primer made for slick surfaces, such as KILZ Adhesion. Test a small hidden spot first, then roll on one thin, even coat and let it dry as the can directs.
- Roll on two thin coats Use a washable interior acrylic paint in satin or semi-gloss. A small foam roller leaves the smoothest finish; brush only the edges. Two thin coats beat one thick one.
- Let it cure, then reassemble Pull the tape while the last coat is still slightly soft. Close the door gently for the first few days so the seals don’t stick to fresh paint, and wait about a week before you scrub it.
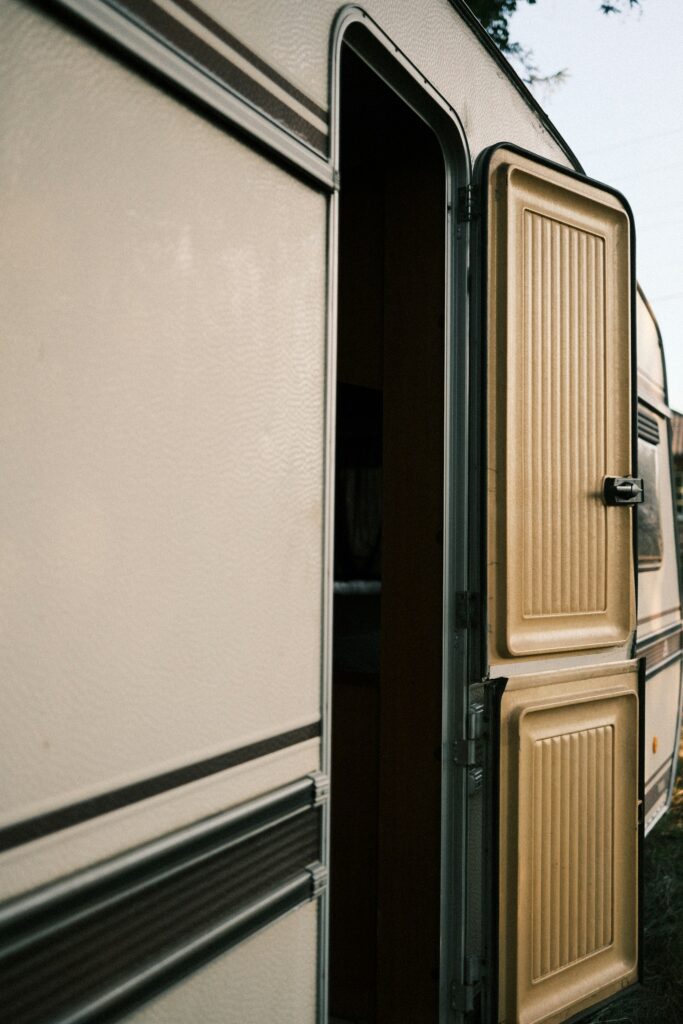
Photo: Vitalii Khodzinskyi on Unsplash
Leave the outside skin to a pro
The outside of most RV entry doors is a factory-painted aluminum or fiberglass skin. Wash and polish it, and dab matching touch-up paint on chips, but leave a full exterior repaint to an RV body shop: it takes automotive prep and paint to last on the road.
Gear that helps
Six products for an RV door makeover
The upgrades from the projects above, with the fit details that matter before you buy.
Best keyless lock
Lippert Keyless RV Door Lock with Bluetooth
Opens with a lighted keypad, a key or the OneControl phone app over Bluetooth, and it retrofits most RV entry doors with standard latches, with no wiring. Fits a 2-3/4 by 3-3/4-inch cutout in doors 1-3/8 to 1-1/2 inches thick; runs on four AA batteries.
Good to know: This link is the right-hand version, for doors hinged on the right. Lippert also makes a left-hand model.
Goes with project 5: Lippert Keyless RV Door Lock with Bluetooth
Best for doors with big windows
RVLock Compact Keyless Handle
A lighter keyless handle with a backlit keypad, a fob and mechanical keys. RVLock designed it for towables whose door window reaches below the handle, where its heavier V4 won’t fit. Made for 1.5-inch doors.
Good to know: Choose left- or right-hand by your hinge side. The inside handle is plastic; for a door you have to pull hard, RVLock’s all-metal V4 is the sturdier choice.
Best screen door upgrade
Camco RV Screen Door Cross Bar (42183)
An aluminum bar with black end grips that adjusts from 21-5/8 to 28-5/8 inches to fit most RV screen doors. It gives you a solid handle and protects the screen. Hardware and a drilling template are included.
Good to know: Wider screen doors need Camco’s push bar that adjusts from 20 to 32 inches.
Best window upgrade
Lippert Thin Shade Complete Window Kit (806621)
Replaces a frosted entry door window with tinted glass, new black frames and a pleated shade built into the frame that you push up or pull down. Installs with a screwdriver in 20 to 45 minutes.
Good to know: It fits Lippert doors only, with a 15 by 24-inch cutout. If your window has a “Thin Shade Ready” decal, buy the shade on its own instead.
Goes with project 7: Lippert Thin Shade Complete Window Kit (806621)
Best assist rail
Stromberg Carlson Lend-A-Hand Extended (AM-533)
A black powder-coated aluminum rail with a foam grip, a 37-inch drop and 25.5 inches of reach from the wall, so you have something to hold all the way down the steps. Folds flat against the RV for travel.
Good to know: It bolts to the same footprint as Stromberg Carlson’s standard AM-200, AM-300 and AM-800 rails, so it can usually replace one without new holes.
Goes with project 11: Stromberg Carlson Lend-A-Hand Extended (AM-533)
Best primer for painting
KILZ Adhesion Bonding Primer
A water-based, modified-acrylic primer made to bond to tough, slick surfaces such as laminate and glossy finishes. It cleans up with water and takes water- or oil-based paint on top. A quart is plenty for a door and its trim.
Good to know: KILZ says it bonds without sanding but recommends testing a small area first. A light scuff with 220-grit still helps on glossy vinyl.
Stay safe
Three rules for any door project
Your entry door is also your main exit. Upgrades should make it easier to get out, never harder.
Keep your exit working
Why it matters: In most rigs the entry door is the quickest way out in a fire or an emergency.
What to do: After any lock or latch change, open the door from inside by feel, in the dark, and show everyone aboard how. Keep the mechanical key where you can reach it, and change lock batteries at the first low-battery warning.
Don’t block the door’s swing
Why it matters: Rails, hooks and step add-ons can catch the door or stop it opening all the way.
What to do: With the rail open and folded, and the steps up and down, swing the door fully open and closed. Fold steps and rails away before you drive.
Paint with fresh air
Why it matters: Primers and paints give off fumes in a small space, and solvent-based products are flammable.
What to do: Open windows and run the roof fan, wear eye protection as primer makers advise, and turn off propane pilot lights and burners while you work with solvent-based products.
Follow your RV and part makers’ instructions. If a lock or door doesn’t fit or close properly after a change, have an RV technician look at it before you travel.
Keep exploring
More from RV-Roundup
Tools for the job, and the supplies that keep the rest of the rig looking as good as the door.
Best RV Camping Tools
The screwdrivers, drills and repair kit worth carrying for projects like these.
Best RV Exterior Cleaning Supplies
Washes, brushes and protectants that are safe on RV paint, decals and seals.

Best RV Wax & Oxidation Remover
Bring a chalky door skin and the walls around it back to a shine.
Helpful answers
RV door makeover questions, answered
What RVers ask most before they pick up a screwdriver.
Start here
Fix the latch first
Five minutes with a screwdriver and a can of dry lube makes every other upgrade work better.
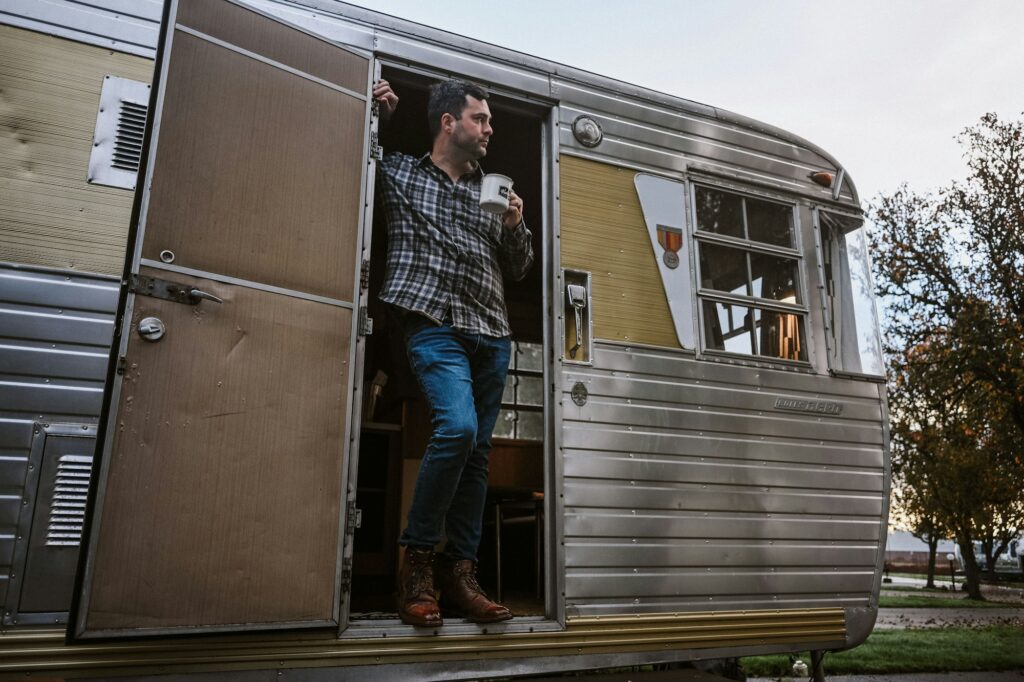
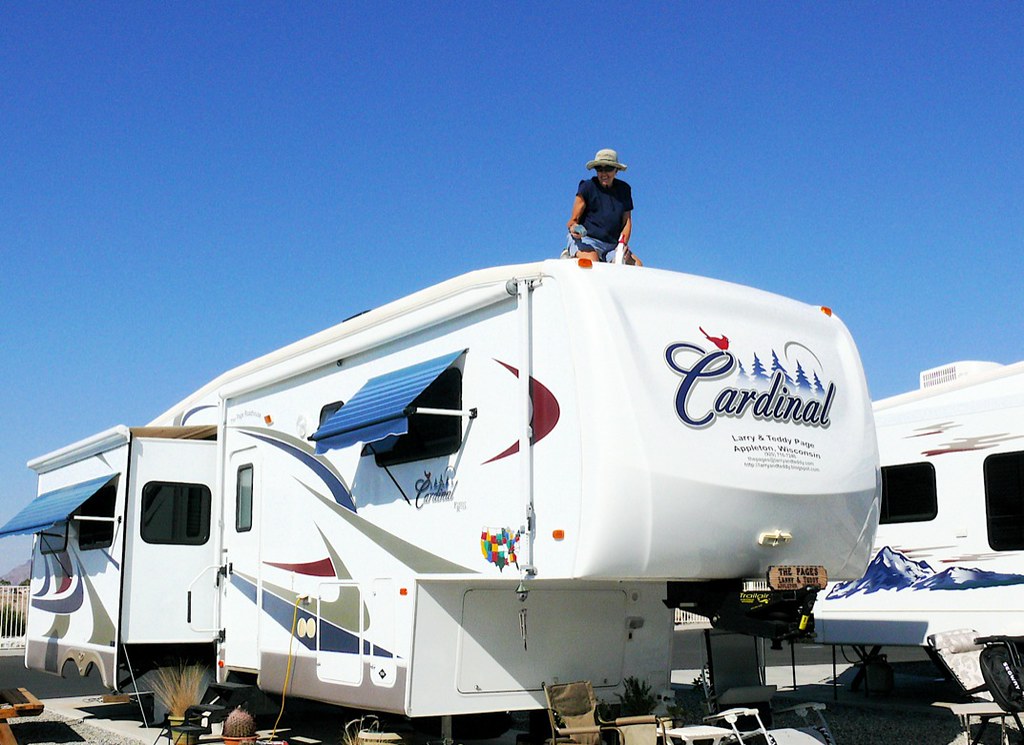
Thank you to the people behind these photos. Hero photo: vintage trailer doorway by Blake Wisz on Unsplash. Paint guide photo: open trailer door by Vitalii Khodzinskyi on Unsplash. Card photos: camper at dusk by Stephan Widua on Unsplash; RV roof waxing by .Larry Page (CC BY 2.0), via Flickr. Illustrations by RV-Roundup. Brand names are trademarks of their owners.
Affiliate disclosure
As an Amazon Associate, RV-Roundup earns from qualifying purchases. The “See it on Amazon” buttons and product links on this page are affiliate links; if you buy through one, we receive a small commission from Amazon at no additional cost to you. That commission is what keeps this site free. No manufacturer paid to be on this page.
Sources we checked on November 3, 2026: Camping World, RV Travel, Lippert (keyless lock), Lippert (Thin Shade), RVLock (Compact fit guide), KILZ (Adhesion primer), etrailer (Lend-A-Hand AM-533), Escapees (door window shades), plus manufacturer and retailer listings from Camco, Stromberg Carlson and Lippert for sizes and prices.
Use your judgment. Follow your RV and part makers’ instructions, and have a technician handle anything you are not comfortable doing. Measure before you order, because door hardware varies by RV maker and year. Product details and prices can change at any time; RV-Roundup is not responsible for errors, omissions or changes made after publication.